


How to Register MuConvert Apple Music Converter
MuConvert Apple Music Converter provides a free trial that allows users to convert the first 3 minutes of each song for 14 days. After the trial period ends, a premium subscription is required to continue downloading Apple Music tracks. So, how can you purchase and activate the registered version of MuConvert Apple Music Converter? Follow this guide for the detailed steps.
Step 1. Install MuConvert Apple Music Converter
Download MuConvert Apple Music Converter from its product page or hit the download button below. The software is supported on Windows and Mac devices currently. Then follow the on-screen instructions to install it on your computer.
Step 2. Purchase the Register License
Navigate to MuConvert Online Store, pick the license option, and complete the purchase. When the payment is done successfully, you will receive an email from MuConvert, including an invoice and the license code for activating the software. (Ensure enter the correct email address when purchasing, or you will fail to receive the code.)
Note: Monthly subscription, yearly subscription, and lifetime license are all selectable for registration. However, the lifetime license is the most recommended as it offers the best value.
Step 3. Activate MuConvert Apple Music Converter
Launch MuConvert Apple Music Converter and wait for the registration window to pop up. Enter the email address as well as the license code you received. Then hit the “Activate” icon to complete the process and enjoy the full features without limitations.
Tip: If the registration window fails to pop up, hit the “Unactivated icon on the top right and you can proceed with the registration to activate.
How to Download Apple Music to MP3/WAV/FLAC/AIFF/AAC/ALAC Formats
Other than Apple music to MP3 conversion, MuConvert Apple Music Converter can also download singles, playlists, and albums to WAV/FLAC/AIFF/AAC/ALAC. And all of this can be done with a simple click or drag-and-drop. Here is how it works.
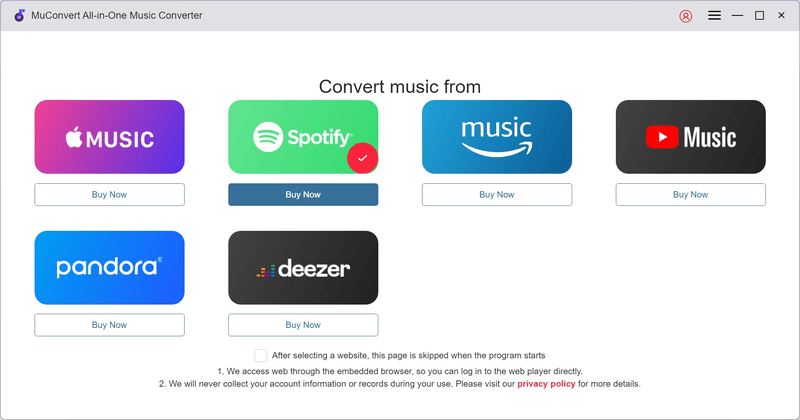
Step 1. Open Apple Web Player
Launch the software, and select the Apple Music service.
Step 2. Log in to Your Apple ID
Launch MuConvert Apple Music Converter. On the main interface, enter the Apple Music web player, and log in to your Apple ID. This is essential, or you won’t be able to access the streaming library and download songs from it.
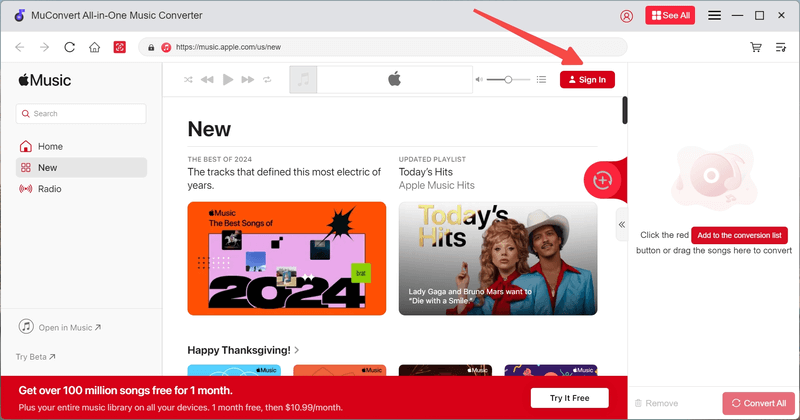
Note: MuConvert Apple Music Converter only reads and syncs the music data in your account without accessing your private information.
Step 3. Add Music/Playlist/Album to Convert
After logging in, you can use the search feature in the Apple web player to find any Apple Music track or album you want to download for offline use.
Once you’ve found the desired items, simply drag them to the conversion list on the right, and MuConvert Apple Music Converter will automatically add all the tracks to the conversion queue. Alternatively, you can click the floating red button on any track, album, or playlist to add it to the queue.
Note: To prevent duplicate entries, MuConvert Apple Music Converter includes a filter that automatically detects and removes duplicate tracks when the same items are added by mistake.

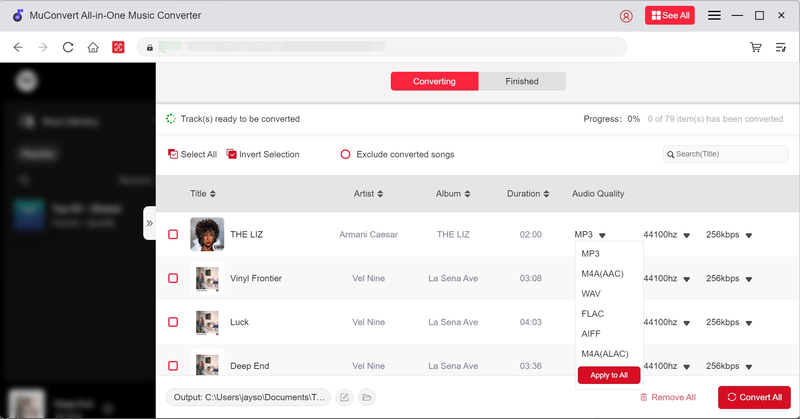
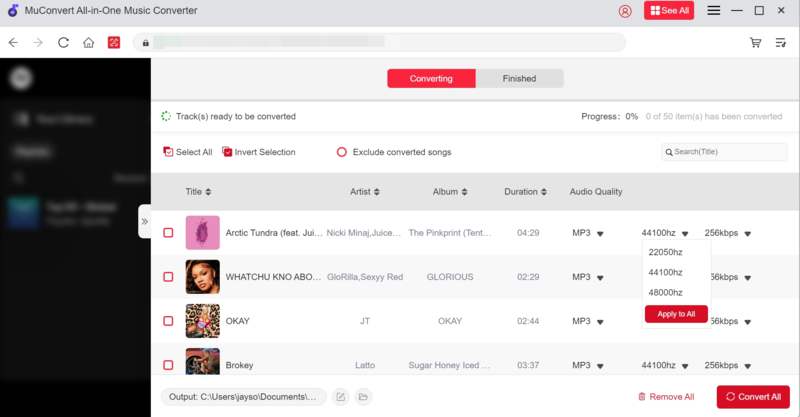
Step 4. Configure the Output Format
Expand the conversion list, and you will see the basic ID3 tag information and output format dropdown. Click on it and choose from MP3/WAV/FLAC/AIFF/AAC/ALAC. If you don’t want to configure each song one by one, directly click “Apply to All” to set the same preferred output format for all your conversions.
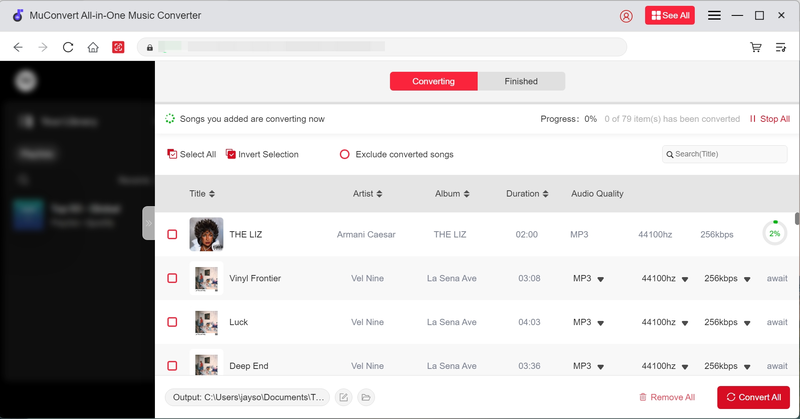
Step 5. Start to Convert Selected Songs
Once the settings are finalized, click the “Convert All” button. MuConvert Apple Music Converter will then convert and download the selected Apple Music tracks to your chosen format.
Note: You can stop a conversion task at any time. But if you resume it later, the download will start over from the beginning.
After the download is complete, you can check the history in the “Finished” section. By clicking the folder icon, MuConvert Apple Music Converter will take you to the output folder, where you can access the downloaded Apple Music tracks for offline listening!
How to Customize Output Settings and Folders
MuConvert Apple Music Converter gives you full control over the output quality of your converted music. You can customize the sample rate and bitrate, as well as choose a specific save location. It’s easy to grasp.
Customize Output Settings
MuConvert Apple Music Converter uses the same 256kbps bitrate as Apple Music by default. However, for those seeking superior audio quality, it also introduces a 320kbps option. Simply follow the process below and you can apply it to your conversions.
Way 1. After adding the songs, expand the conversion list, where you’ll find dropdowns for bitrate and sample rate. Choose from 128kbps, 256kbps, or 320kbps, and click “Apply to All” to finish the setting.
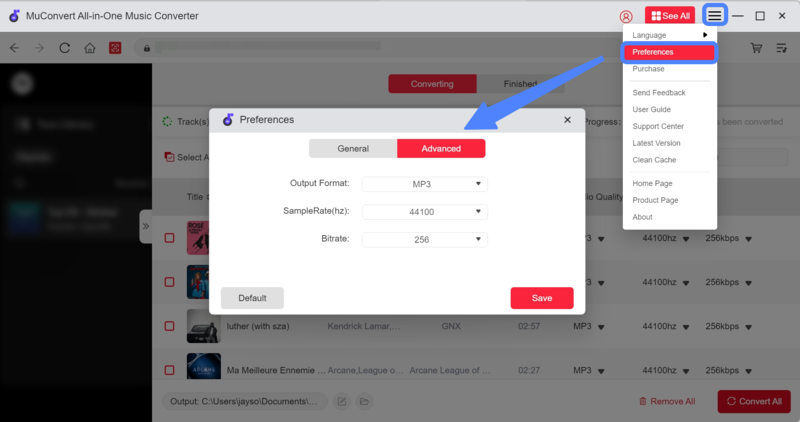
Way 2. Go to “Burger Menu” in the upper right corner and click “Preferences”. A new window will pop up and you can set up parameters under “Bitrate” and “SampleRate”.
Change Output Folder
The default output folder for MuConvert Apple Music Converter is located within the installation path. However, you are allowed to customize another folder to save the outputs. Here is the way.
Way 1. Similarly, expand the conversion list. At the bottom of this page, you can see the output path. Click the “File” icon next to it to reselect.
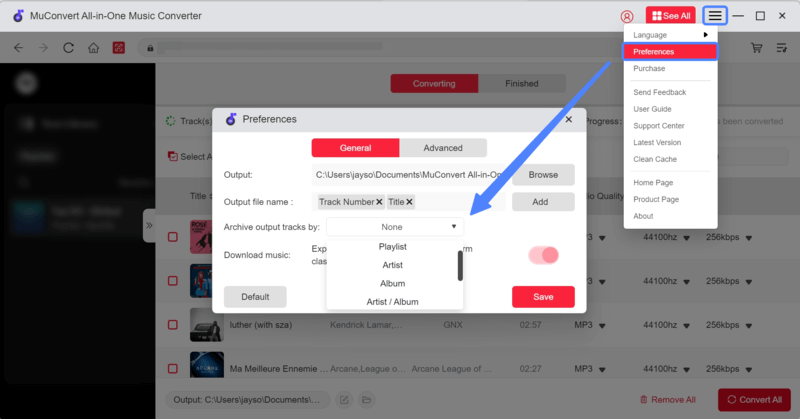
Way 2. Navigate to “Burger Menu” > “Preferences”. Under “Output Path”, click the “Browse” button to reselect. Do not forget to save the change afterward.
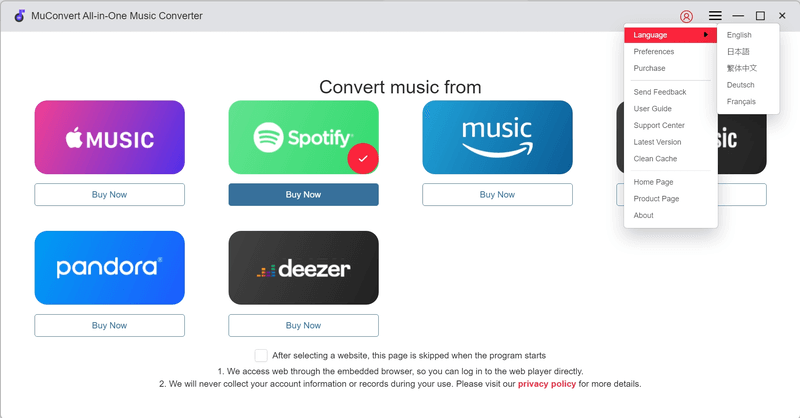
How to Change Language and Manage History in MuConvert
Need help with MuConvert Apple Music Converter? This guide will answer your questions about the interface and download management.
Change Program Language
The software interface is bound to the Apple web player, so it cannot be customized. However, you can choose your preferred language from English, Japanese, French, German, and Chinese.
To change it, simply head to “Burger Menu” > “Language”, and you are available to pick the language you are familiar with and apply it to the whole program.
Manage Conversion History
Once Apple music starts downloading, the conversion list page will remain open and cannot be minimized to a sidebar. During this time, you can monitor the progress of converting songs. And progress bars will appear next to each song and at the top of the page. Additionally, stopping and canceling the conversion are both supported.
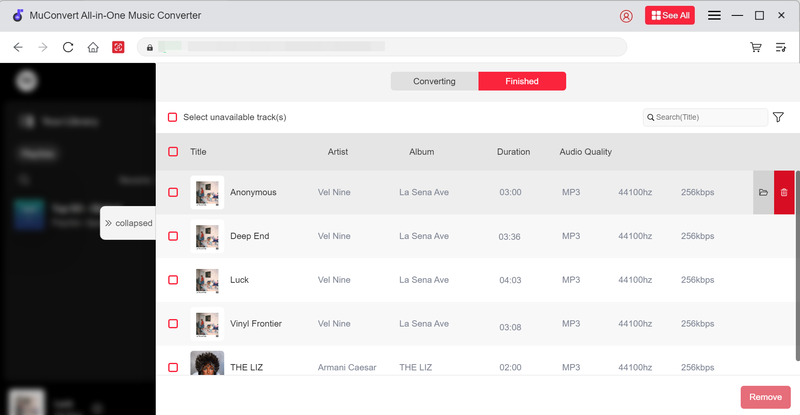
When the conversion is done, navigate to “Finished” and all the converted Apple Music tracks will be listed here. You can quickly locate the saving folder for playback by hitting the “Folder” icon. To clear the converted history, click the “Trash” icon and you can easily remove the records.
Note: The “Clear Cache” option in the “Burger Menu” is not applied to manage conversion history. It can only clear account information.
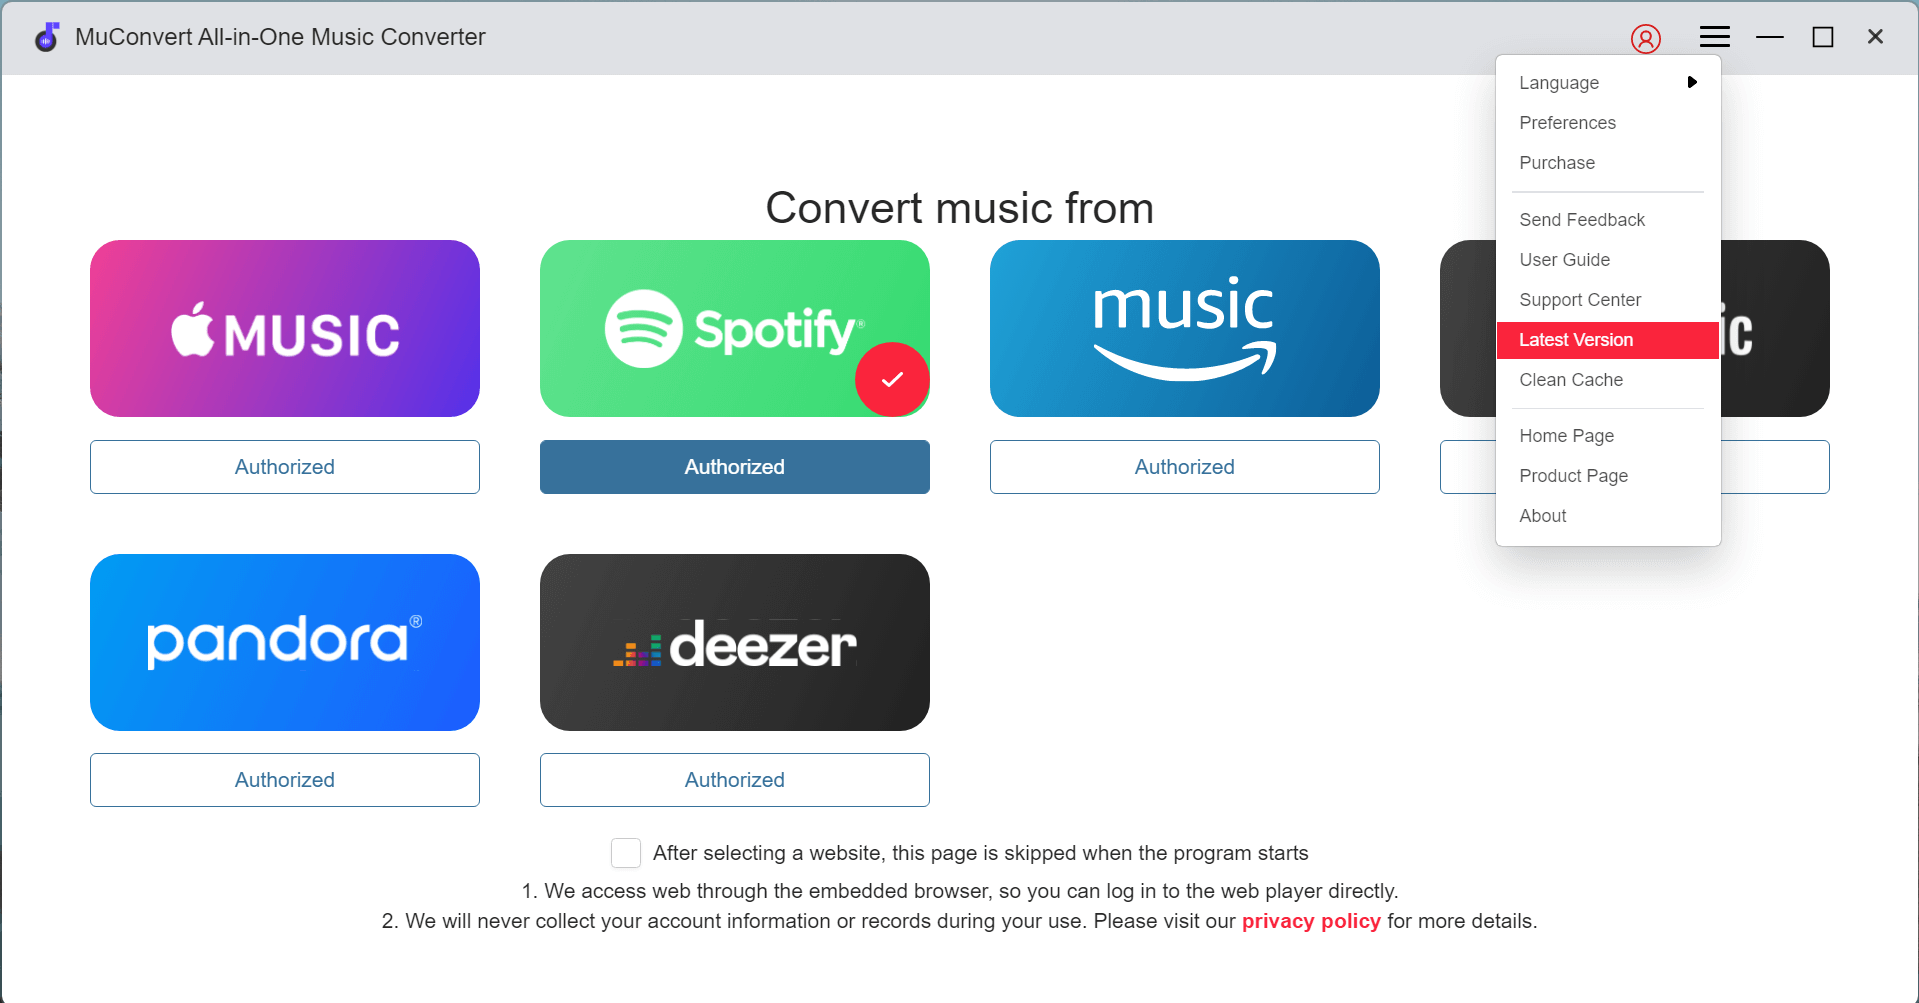
How to Update/Uninstall MuConvert Apple Music Converter
MuConvert Spotify Music Converter offers a simple setup process for you to grasp. Here is a brief guide for you.
Update MuConvert Apple Music Converter
MuConvert Apple Music Converter will be maintained for a better user experience. To update the software to the latest version, you get 3 ways.
Way 1. Auto-update
MuConvert Apple Music Converter has an auto-update feature. When there is a new version released, users will receive a notification when they open the software. Simply submit updates and MuConvert Apple Music Converter will be automatically upgraded to the latest version.
Way 2. Manually Check for Update
You can manually check for software updates by going to “Menu” > “Check Update”. If there is a new version you can update to, MuConvert Apple Music Converter will notify you and you just need to submit the update directly.
Way 3. Re-install the Software
MuConvert Apple Music Converter product page will always prepare the latest version for you to download and install. Thus, you are also able to re-install the software to get the latest version from the official web page.
Uninstall MuConvert Apple Music Converter
The uninstallation process for MuConvert Apple Music Converter differs slightly between Windows and macOS. Here’s how to do it.
- Windows: Move to your desktop and find the software icon. Right-click on it and select to uninstall. Then MuConvert Spotify Music Converter will guide you to remove itself properly.
- Mac: Navigate to the MuConvert Spotify Music Converter icon in Launcher and long press on it till an “X” icon occurs. Hit it and you can easily uninstall the software.